As someone who has been sewing plush pet beds for over 7 years, I’ve accumulated numerous tips and tricks for crafting cozy, durable, and stylish beds that pets love. With some basic sewing skills and quality fabrics, you can create a customized bed your furry friend will adore.
Choose Materials Wisely
When selecting fabrics, opt for durable, machine-washable cloth such as canvas, denim, or corduroy. These materials withstand scratching and shaking. For stuffing, recycled materials like old clothing or linens work well, while Poly-fil stuffing offers thickness without heaviness. Avoid using beads, as they can be choking hazards. For more information on selecting pet-safe fabrics, check out this PetSafe guide.
Measure Your Pet
Determine the bed’s dimensions by measuring your pet in various positions and adding 4-6 inches for wiggle room. Large breeds need more space to sprawl out, while small pets feel secure in a snug bed. Record the length with their legs straight, curled up, and stretched sideways. For accurate measurement tips, see Petfinder’s guide on pet bed sizing.
Pick a Style
Basic rectangular beds work for most pets, but you can get creative with shapes. Round or oval beds suit pets that circle before lying down, while canopy beds appeal to small breeds like Chihuahuas that enjoy enclosed spaces. For pets that like to stretch out, an extended mattress-style bed is ideal. Explore different pet bed styles here.
Choose Colors and Patterns
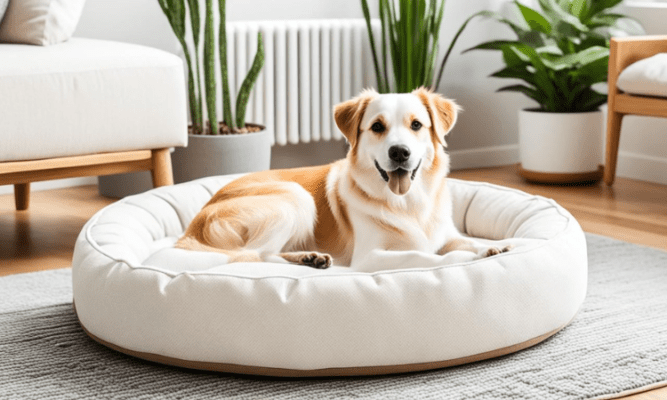
Stick to dark solids or simple patterns, as light fabrics show dirt more easily. Plaids, tweeds, and florals can make cozy, attractive designs. Consider your pet’s personality—an energetic dog might enjoy vibrant colors, while a timid cat may prefer softer tones. Always pre-wash fabrics to prevent shrinking. For tips on selecting pet-friendly colors and patterns, visit The Spruce Pets.
Prepare the Fabric
Wash, dry, and iron all fabrics before cutting to preshrink them. Use a pattern or create your own template from newspaper or old cardboard. Pin the pattern pieces to the fabric, using the fold line as one side. Cut along the edges, leaving 1⁄2 inch for seam allowances. Mark the fabric pieces and set aside. For fabric preparation tips, check out Sewing.org’s guide.
Sew the Outer Shell
On a flat surface, lay the bottom piece right side up. Place the side pieces along the edges, with right sides facing down. Pin the layers together and sew along the edges using a 1⁄2 inch seam, removing pins as you go. Leave an opening for turning and stuffing.
Make the Lining
The lining adds padding to the bed. Cut, pin, and sew a lining from a softer fabric like flannel or minky. For extra padding, use two layers of lighter material rather than one thick layer, which can be uncomfortable. Leave an opening for turning and stuffing. Learn more about adding linings to projects here.
Attach the Layers
Turn both the outer shell and lining right side out. Ensure the outer shell is smooth and flat, with corners fully extended. Insert the lining inside the outer shell so right sides are together, matching up seams and edges. Pin the perimeter and sew around the edges, leaving an 8-inch opening on one side. For guidance on attaching layers, see Sew Daily’s article.
Turn Right Side Out

Reach into the opening between the layers and gently pull through to the outside. Use a turning tool to push out corners until they are fully extended. Press with an iron to define the shape. Stuff firmly with fabric scraps or Poly-fil for thick cushioning. For turning techniques, visit Craftsy’s tutorial.
To Know which Wet food is good for your cat, check our Top 7 Wet Cat Foods for Finicky Felines in 2024
Close the Opening
Once the bed is generously stuffed, hand-stitch the opening closed using a ladder stitch. Knot securely at each end. Add a layer of batting around the seams if desired for additional comfort and warmth.
Add Design Details
Get creative with trim, lace, ribbons, or appliqués. Measure your pet’s neck to determine collar size and decorate one end with bows, flowers, and their name or monogram. For pets that nest, attach a canopy top using lightweight fabric and ribbons.
Make It Non-Skid
To prevent sliding, glue strips of Velcro or grippy shelf liner fabric to the bottom surface. For hard floors, attach self-adhesive furniture sliders, which allow the bed to move slightly as your pet circles before settling in. Placing the bed on an area rug can also provide added traction.
Wash Regularly
To maintain freshness and hygiene, launder the removable cover frequently. Check seams and trim for wear. Plump up stuffing if it becomes compressed. Spot clean stains immediately before they are set. For more on maintaining pet bed hygiene, see PetMD’s cleaning tips.
As you can see, sewing a custom bed doesn’t have to be complicated or expensive. The reward of watching your pet happily snuggle into a cozy bed you lovingly crafted makes it a craft well worth learning. Just be prepared for them to take over your bed too! With a few basic skills and quality fabrics, you’ll create a place your furry friend can’t wait to curl up in.
Please feel free to reach out with any other Pet-related questions!

M0lly is a passionate blogger and content creator based in Östergötland, Sweden. With a personal blog that has captivated a dedicated audience since December 2021, M0lly offers a unique perspective on a variety of topics. Her content reflects her deep engagement with her followers, sharing insights and experiences through 1,120 posts and connecting with a community of over 1,500 followers.
M0lly’s work blends personal reflections with thoughtful commentary, creating a space for meaningful conversations and connections. Her profile is a testament to her commitment to authentic content and engagement.
For more updates and to follow her journey, visit her Instagram profile: M0lly on Instagram.
